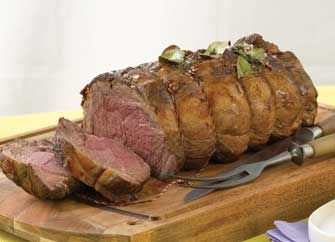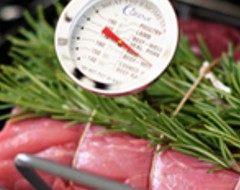
A delicious rolled and tied beef roast
Carving a beef roast shouldn’t be stressful, with a well rested roast and a sharp knife it’s easy. Follow our simple step by step guide to get the juiciest results every time.
1. For the juiciest roast, allow the meat to rest for 20 minutes before carving. This allows the juices to redistribute (which keeps the juices and tenderness intact) and makes carving easier.
2. It’s harder to hit a moving target.. so place a dampened napkin under the board to prevent it moving as you carve.
3. Steady the beef with a carving fork and begin slicing (not sawing) the roast (use the full length of the blade).
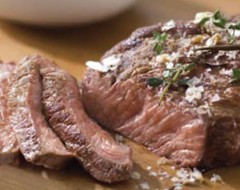
4. Carve across the grain of the meat at a consistent angle. Gently remove any strings or skewers as you carve.
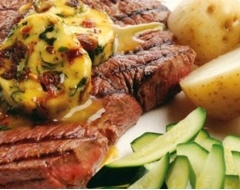
5. Transfer the roast slices to a warm serving platter and spoon any juices over the top.
Tips for carving different beef roast cuts
- Rib eye (scotch fillet) is an easy beef roast to carve. For even slices, hold the knife at the same angle for each cut.
- Eye fillet tenderloin – begin slicing at the widest end of the meat. Keep the knife blade slightly tilted and slice each piece of meat about 2cm thick. Stack the beef closely together to keep the juices and warmth within the slices.
- Standing rib roast – we suggest to removing the backbone before cooking (we usually supply our product this way) and cut the rib bones short for easier carving. Place the roast on the carving board with the large end down. Insert the fork firmly beneath the top rib. Start at the broadest part of the beef and slice across the grain horizontally toward the rib side. Cut along the rib bone (keep the knife close to the bone). Slide the knife under each slice (use a fork to steady it). Lift the meat slice and transfer it to a heated platter.


